|
|
|
|
|
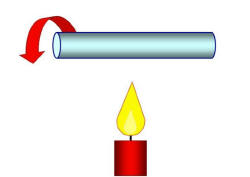
Heat clear plastic rod
(sprue from kit) over a candle; turn rod to get an even heating. |
| |
|
|
|
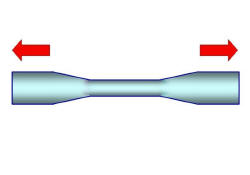
Remove from flame when
plastic gets soft (shines) and pull ends slowly apart to a thin rod (narrow
for a little light, thicker for a bigger one). |
| |
|
|
|
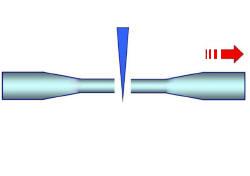
Cut in half; spare one end
for further use. |
| |
|
|
|
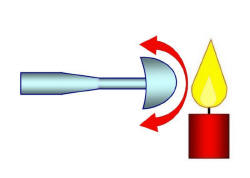
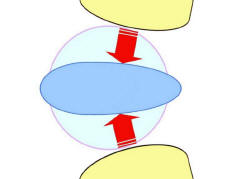
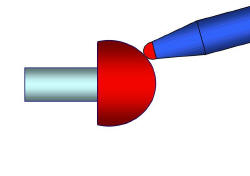
Put one end near a candle
flame (there should be no wind) until the end rolls back to a mushroom form.
Remove from flame. |
| |
|
|
|
Slightly squeeze mushroom to get the horizontal planform into a teardrop shape. |
| |
|
|
|
Use transparent permanent marker to get
the
desired colour (red for an anti collision light in this case). |
| |
|
|
|
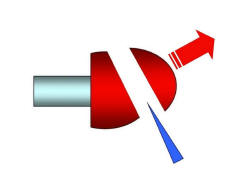
Cut diagonally as appropriate
to get the right shape. |
|
|
|
|
|
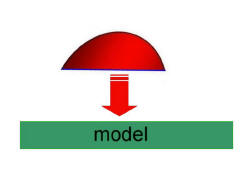
Apply glue to underside of
light and fix it onto model. Ready! |
|
Wing lights: |
|
|
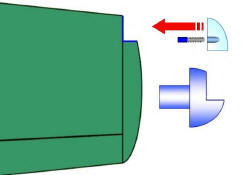
Conventional way:
Remove appropriate part in kit wing.
Heat and press
clear sprue to tear drop shape as described above, If in the original a coloured light bulb is
covered by transparent glass, drill a hole and
colour it with permanent marker (blue right side, red left side) to resemble the light bulb.
Glue part in, sand and polish to
blend it in if necessary.
Alternative below: |
|
|
|
|
|
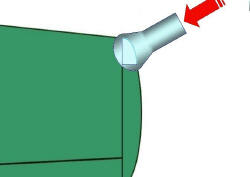
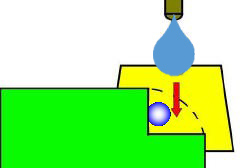
My favorite way, perfect fit
guaranteed: Heat and soften
one end of clear sprue, then press it into the precut aperture. Take care
that it is completely covered. If the
original position light is covered by tinted glass apply cement to insides
of the aperture before the clear sprue is pressed in (permanent fix).
If the light contains a coloured light
bulb covered with transparent glass, remove clear sprue, bore hole in the
appropriate place and colour it. Then glue clear part in (cement only to the
insides of the aperture!).
|
|
|
|
|
|
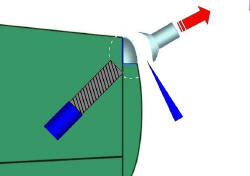
Cut off outer parts of the
clear sprue, sand remains to shape (as the outer parts of the clear part
should not have contact with the glue they should go off easily). Fine grade
sandpaper and polish is used in the last step to get a shiny appearance. |
|
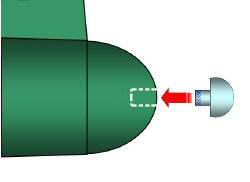
Alternative, easy and safe: |
 |
Remove light part, insert (scratch)
light bulb, cover cutout with flexible adhesive tape on one side, carefully fill
epoxy glue in (no bubbles!) ; if necessary trim front edge after glue has
hardened, then polish it. If there is some adhesive from the tape left it
can be easily removed with thinners; alternatively adhesive tape slightly
larger than the opening can be fixed on the lower tape, non sticking surface
upside. |
|
Other lights: |
|
|
Rear position light: As described
above, but leave some lenght of stump. Apply glue and insert part (colored
white) into
predrilled hole. |
|
|
|