|
No doubt, the latest offering of the Czech CMR company is a
masterpiece, furnishing no less than 10 marking variations! When it comes to
accuracy and representation of details of the CMR Firebrand TF Mk V kit
there’s nothing to criticise. Where in 1/72 scale did one see air intakes
and cannon muzzles with appropriate openings, rudders with undercuts not
just trenches, and knife edge trailing edges, to mention just a few. - But
building this torpedo fighter is another story. Not that there are any
problems concerning fit or so, all is well formed. But otherwise this kit
will task your skills (and sometimes your knowledge) to the utmost. Do not
buy this kit when you are on the way to quit smoking or drinking or tend to
depressions. |
| |
|
If
you follow the assembly instructions closely to the very last step
(application of paint and decals to follow) you’ve got a major problem. As
the model by then sprouts quite a lot of delicate parts sticking out
everywhere there's a good chance to touch one during further handling. Then
it will disappear into infinity (very probably so in an earlier stage). I do
know what I’m talking about!
-
To prevent the mistakes I made, all six antennas and the four
cannon should be applied after paint and decals have been applied. In
case of the antennas pre drilled holes help a lot to make the fix more
durable. As the one piece wing is inserted in a relatively early stage
further handling will inevitably break one or more of the commendably thin
flap guide rails. Masking the trailing edges with cardboard or else helps a lot for
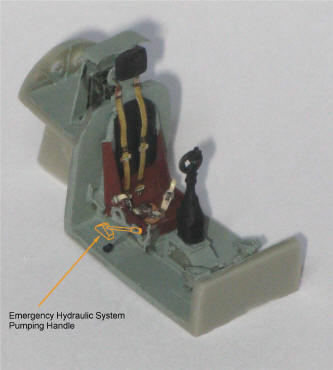
preservation. In the cockpit (a model in itself) a hydraulic pump lever
should be placed on the right side of the seat (forget the PE part to be
inserted at a right angle). See the sketch provided by Andy White who did
all the CMR research. |
| |
|
In my model the position lights in the wings (separate clear
parts) didn’t fit. Solution: Insert appropriately colored light bulbs made
from clear sprue then mask upper side of the cut out with tape. Turn wing up
side down and fill in clear two component glue with a toothpick. If the
right amount is applied aside from some sanding/polishing of the front
edges no further treatment is necessary |
| |
|
CMR provides a canopy hood that – though thin and clear – has
decidedly prominent frames. In reality they were flush with the glass. CMR
is not to be blamed for this exaggeration. Modellers want it this way I was
told. Well, I like it more realistic and made mine by myself. No carving and
filling a balsa wood block is necessary (for details see
http://www.pmcn.de/English/E-weC.htm#cockpit%20hoods). |
| |
|
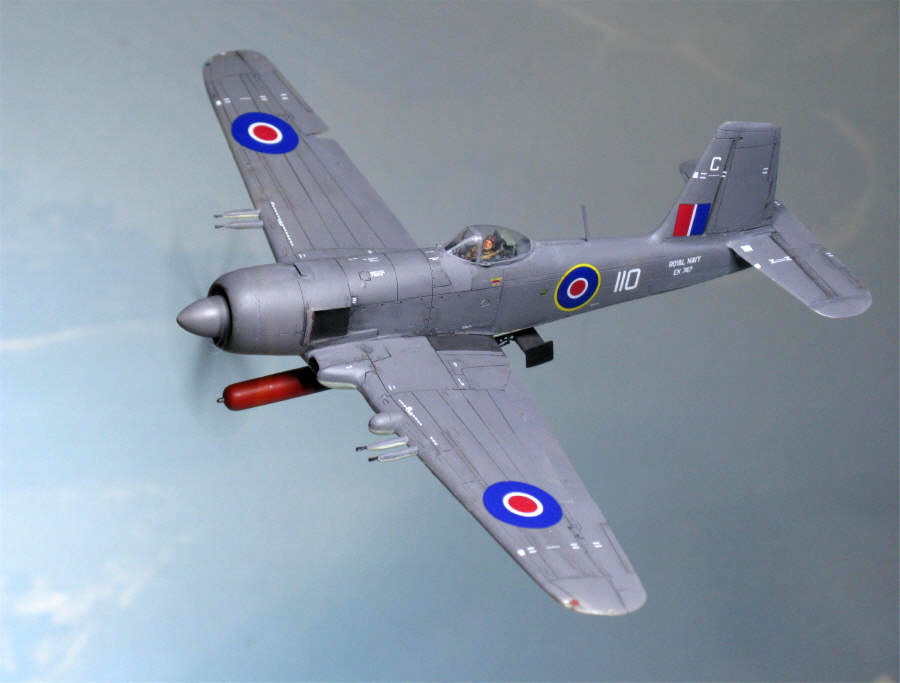
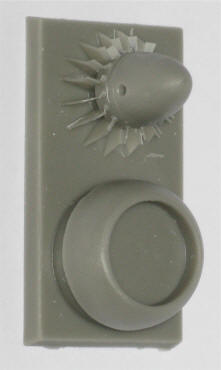
Another point where my model differs from CMR is the
airscrew. As I intended to show a ”flying” model it had to turn, the kit
part being non revolving. Making propeller blades is really easy (see
http://www.pmcn.de/English/airscrew/airscrew.htm). The hub was made of
polyester paste with a pin (head removed) as central core, sanded to shape
with the help of a drilling machine. Then four holes were bored to accept
the propeller blades. |
| |
|
The pilot, not furnished in the kit, is scratch built. |
|
|
|
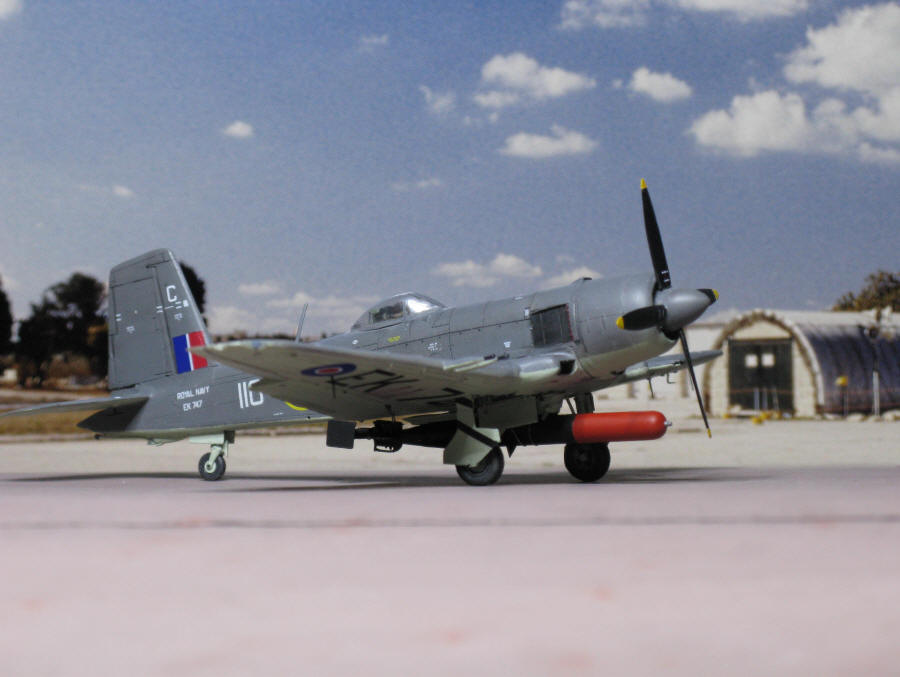
Colors: After having
replaced quite a few broken parts with homemade ones I wasn't in the mood to
make a two color upper surface. Simple "Sea Gray" deemed sufficient (and in
my eyes quite appropriate), the undersides being "Sky". For this paint job I
used Revell 164 for the former and Humbrol 59 for the latter. "Gray Green"
for the interior had to be mixed by myself as I found no suitable offer.
|
| |
|
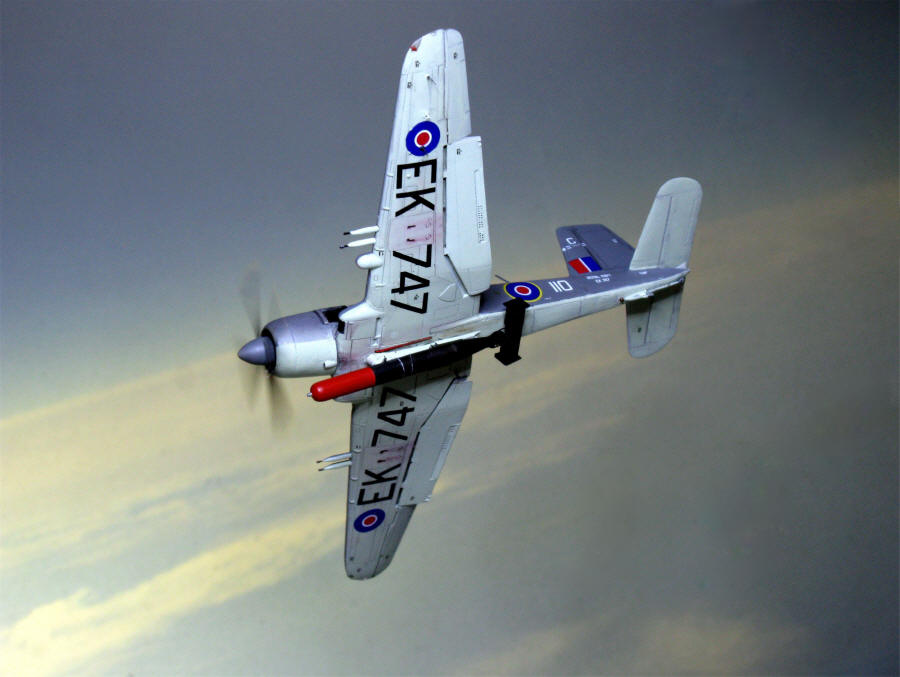
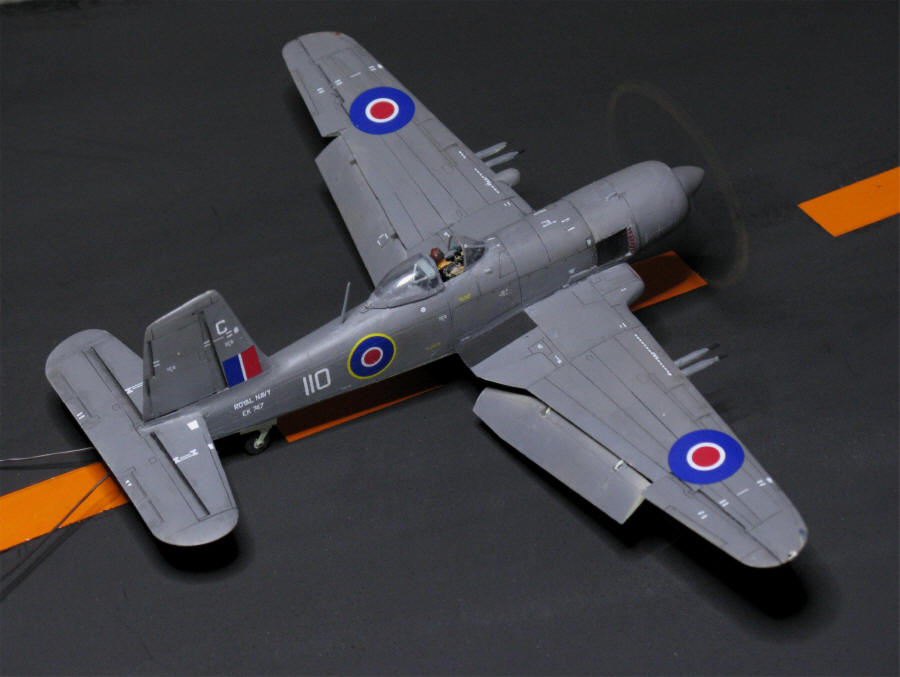
Four photos seemed sufficient to show the model (accordingly
altered) from all sides and no Adobe photo shop was needed to get it into
the air. |