|
|
| Corner X.OP-1A, single seat observation and fighter aircraft, USAAC 1932 | |
| 1. Plastikmodellbauclub Nürnberg e.V. |
| zurück zur Auswahl | back to 1. PMCN. e.V. | |
| Model and photos by Wilfried Eck | ||
|
|
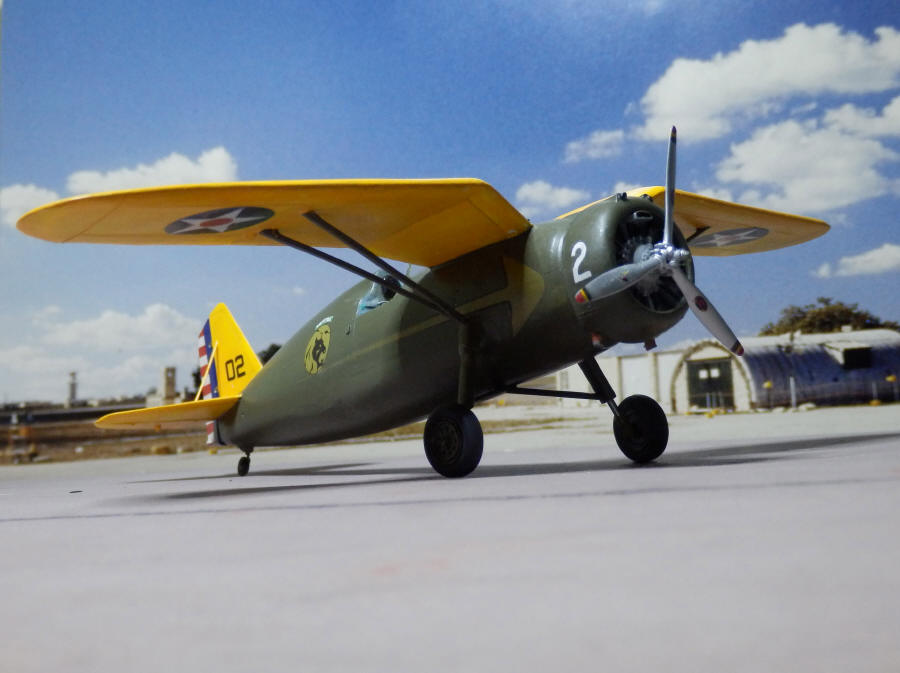
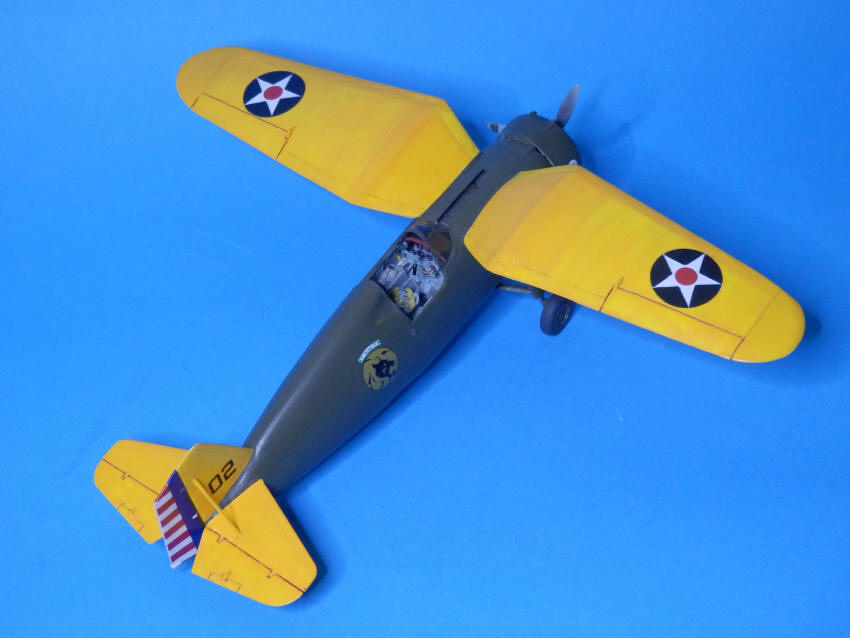
| Corner X.OP-1A, single seat observation and fighter aircraft, USAAC 1932 | |
The original aircraft:
In the thirties of the 20th century reconnaisance (observation) aircraft still were two seat biplanes with the observer/cameraman manning a single machine gun for defense (not always successfully). The Fred W. Corner Inc. therefore offered the US Army Air Corps a single seat monoplane aircraft that could fulfill observations tasks and by installation of two forward firing machine guns was also able to meet hostile encounters on even terms. The cranked monoplane configuration also offering higher speed and better sight over and below the wings. A generously dimensioned tank guaranteed the necessary range. The camera, installed in the rear fuselage, could also provide oblique shots by downing one wing.
 |
The US Army Air Corps was impressed and ordered five aircraft for evaluation under the then new designation X.OP-1A (experimental, observation, pursuit). The first one flew Feb. 16th 1932 and quickly showed an improvement in all categories, its suitability as long range fighter being considered the best virtue, while pilots were fond of the excellent sight. Nevertheless great scale production failed. Corner didn't have adequate production facilities and rejected the tought of license production. The fate of the machines already delivered is unknown.
The model:
To expect a kit of this rather unknown aircraft would go too far. But the fuselage of a 1/48 J2M3 Raiden could be - suitably modified - used, Accurate Miniatures delivering motor, cowling and airscrew of a F3F-2. The rest was scratch buliding with emphasis on the fabric covered wings and empennage.
|
|
How it was made
:
|
|
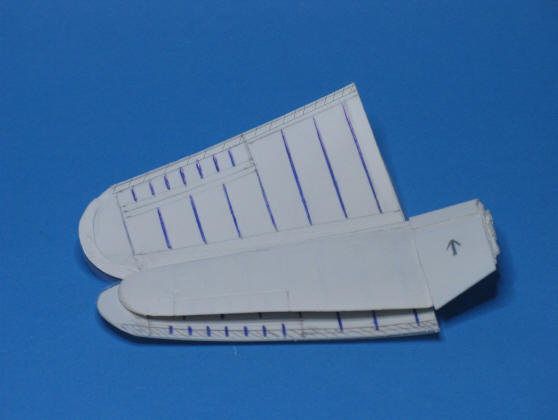
In principle: A core (materiel unimportant, i.e. balsa, kit part filed thinner) is laminated with thin plastic sheet, this having the ribs impressed from the underside. Thickness maximum 0,2 millimeters. Some other materiel may be used as well.
In Detail see page "Fabric Covering"
In my case the plastic reminded me that thin edges of the core could result in a break. But nil desperandum! A narrow plastic strip was fixed to two strips of wood, then heated over a toaster and when suitably soft laid (not forcefully pulled) around the leading edge of the wing. After ist had cooled down this part was cut to size and glued in. Top and bottom parts to follow.
As this model is unique the chance that another modeller will try to build it is nearly nil I think I can spare further explanations. Just one point seems important: When forming a cockpit hood is needed forget carving and filling a balsa block! - Balsa was only needed in WW II time and shortly afterwards. Today use of polyester (repair-) putty makes things far more easier. See German page weC (english text) "Cockpithauben".
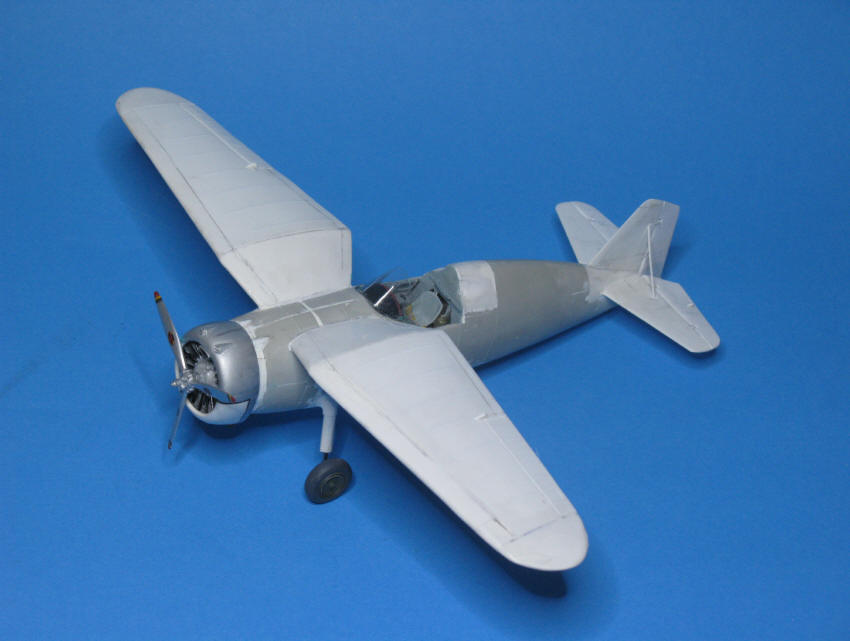 |
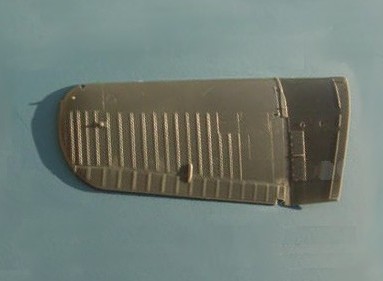
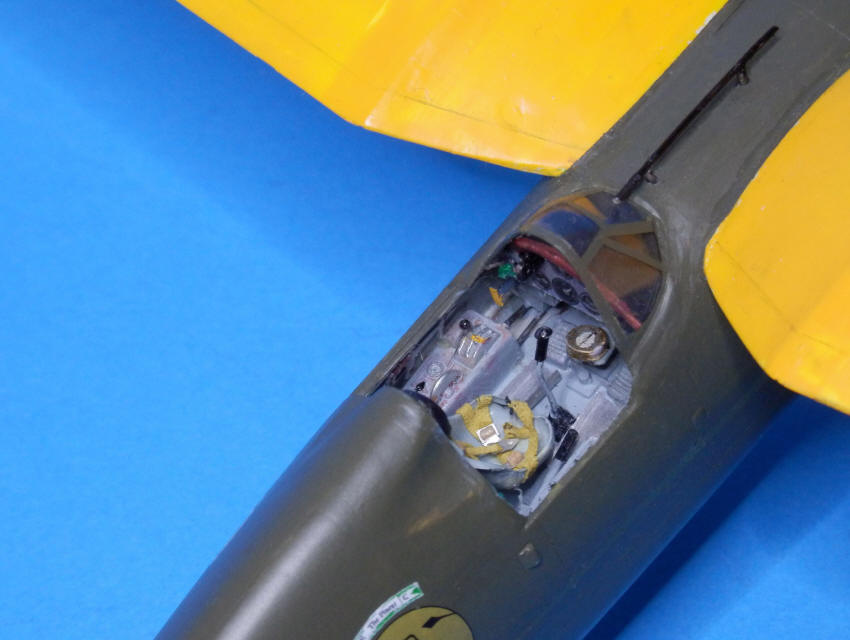
| completed model before painting, parts in white (except cowling) and cockpit are scratch made |
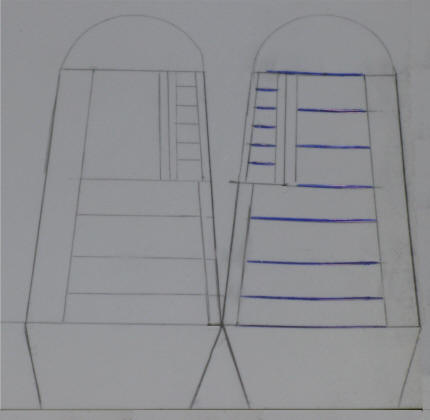
| Alternatively you could incorrect representations of fabric covering as follows: |
| a) Far to prominent ribs: Sand off everything, then apply masking tape, leaving a narrow slit where a rib was; fill in evenly with thinned putty, let dry, and after removal of the tape blend in. |
| b) Too deep waves: Fill in with putty until there is a smooth surface, the ribs should be barely visible; after this has dried, sand slightly with fine sandpaper; as putty tends to shrink after some time the ribs will reappear in a very delicate way, just like in the original. |
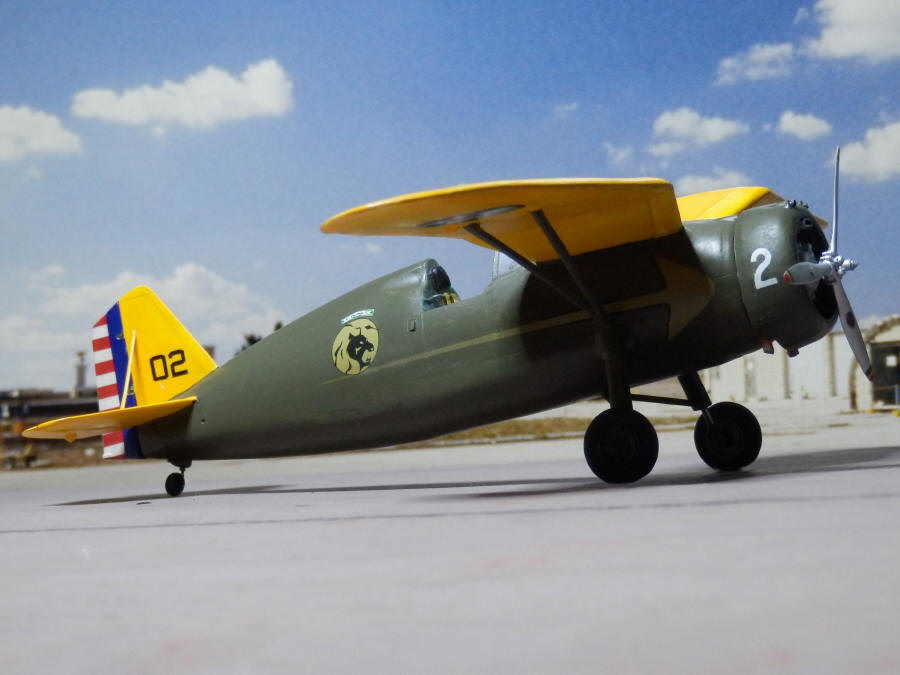
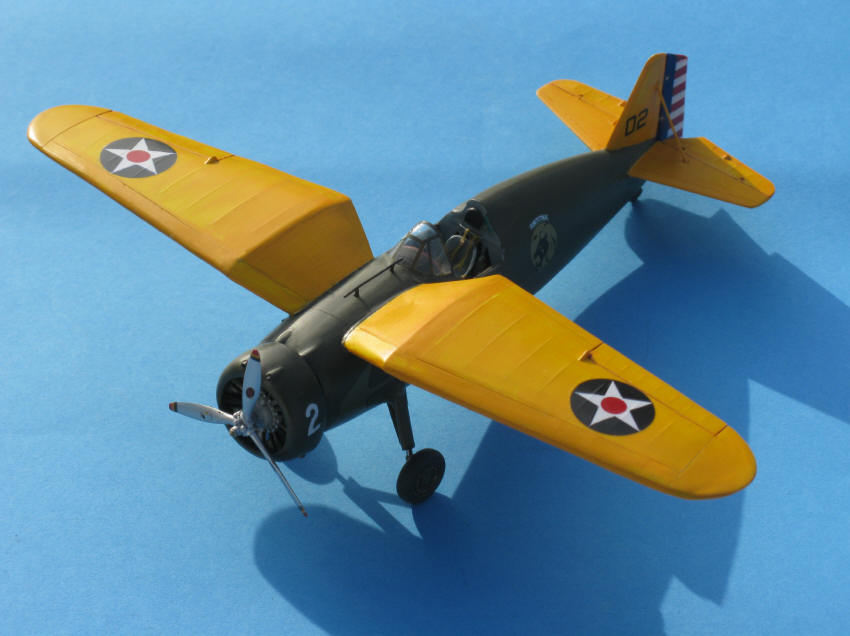
Colors: Revell (no others available) Yellow and Black to create Oive Drab, Yellow and a tiny bit of Bright Red for Orange Yellow. No "ageing" as these Corner aircraft were factory fresh (besides: as "aged" - worn- fabric covering could tear apart in flight no pilot in sane mind would man such an aircraft).
 |
 |
 |
Final remark: Sorry, neither the Fred W. Corner Inc. nor this aircraft did ever exist. It's an invention, but with a serious background: When asking myself what to do with a surplus Raiden kit the question arose, what kind of new aircraft it should be. When deciding "early thirties" the next question was which kind of aircraft made sense, which construction thoughts an engineer of this time would have had. - Well, and so there was to tell, how fabric covering looks like and how it was to make in model form. For your next model with exaggerated fabric covering.
![]()