|
|
|
click photo |
Modelling-ABC by Wilfried Eck |
F
| Fabric covering: |
|
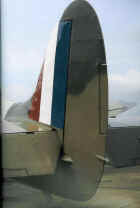
From the Wright "Flyer" to early days of WW II fabric covering of airplanes was common. The fabric was pulled tight, sewed together and covered with filler and several layers of paint. When not painted with a matt camouflage fabric covering was of high gloss and as taut as a drumskin. What indicated fabric covering most were thin strips of fabric over the stringers. Never was there any hanging through like ocean waves.
Sadly enough kit manufacturers and detail freaks tend to exaggerate fabric covering. Especially "textile structure" is pure blunder when considering the scale and viewing distance. But also these waves commonly seen are a far cry of the real thing (ever saw a drumskin hang?). If fabric sags it's loose, and as lift is generated by vacuum effect above the wings such a loose fabric covering would have been sucked upwards in flight. Ever saw such an airplane with a row of hills above the wings...?
Correcting such exaggerations is not too difficult. Simply fill up with putty till all ribs are just covered. After this has thorougly dried slightly sand it with fine sandpaper. As plastic usually is harder than putty, the ribs will protude again, just slightly as in the original (maybe an overcoat of paint will be necessary to get an smooth surface, mostly not).
Page how to make fabric covering (rudders and wings alike).
|
|
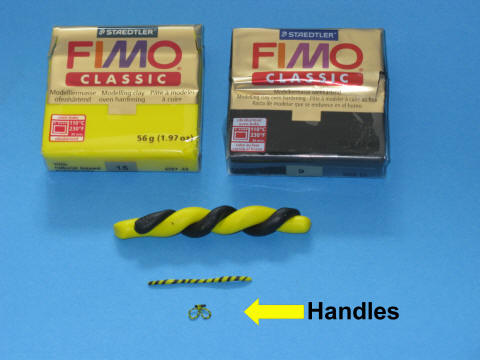
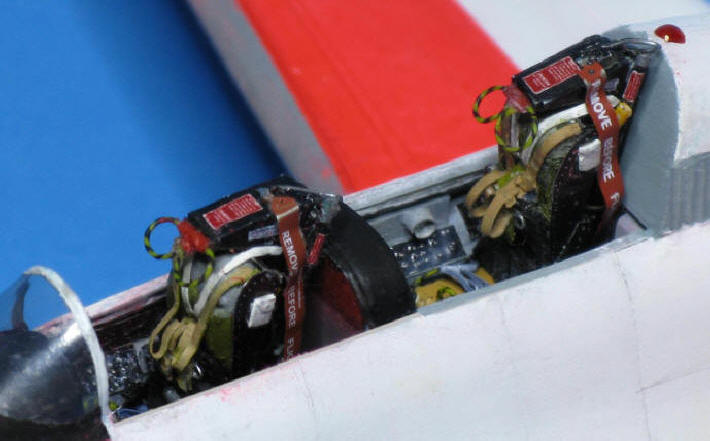
Though you can get FIMO modelling clay in the toy department, but you should not underestimate its uses in model making. Handles for ejection seats, moulds for cockpit canopies and much more is possible with Fimo. FIMO is softened by kneading
and can then be shaped as desired or even mixed from different colours. In
the oven it becomes hard like wood and can then also be sanded and polished.
Of course, it can also be painted after hardening. However, super glue is
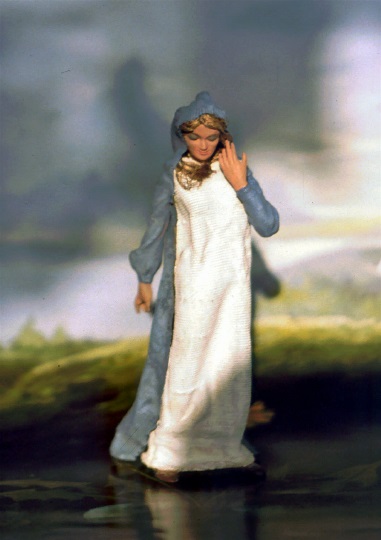
required for adding parts. The drawback: Said ejection seat handles can't be made in scales smaller than 1/48. But, as you can see, you can also make figures with it (height approx. 4''). |
|